HPAT - Hazard Perception Awareness Training


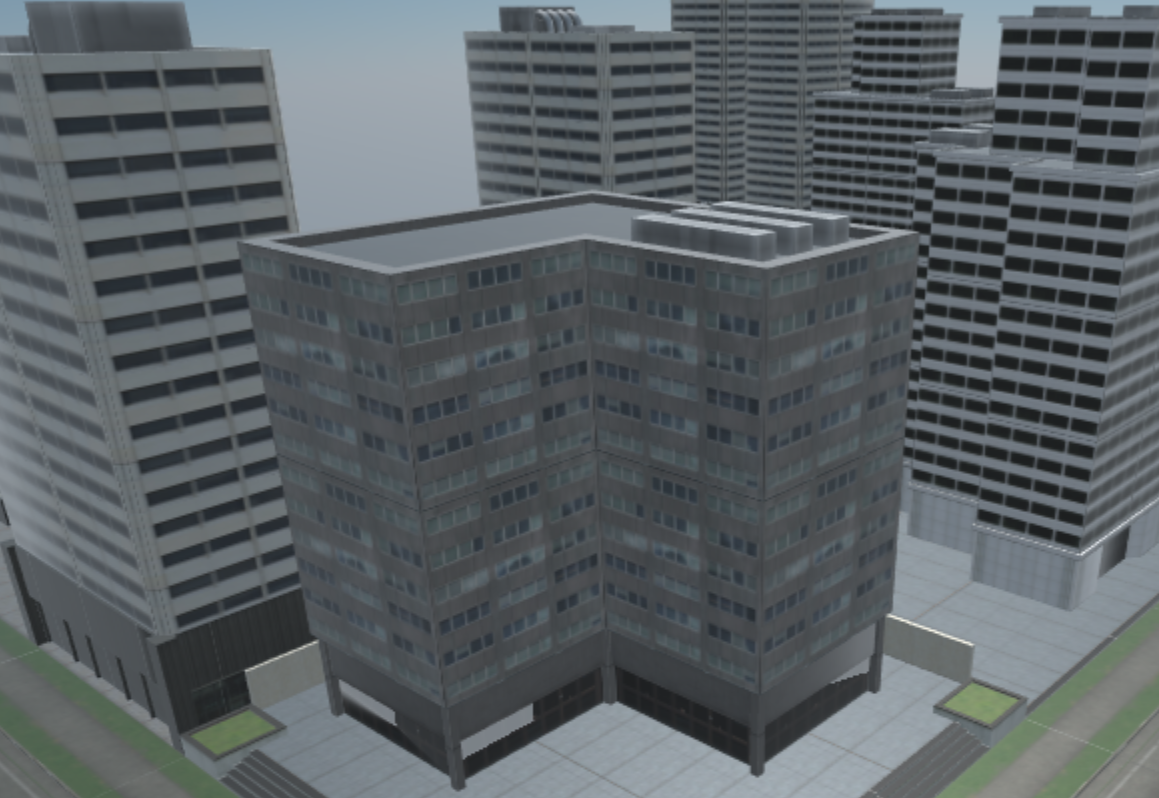
Instructions and a Link for simulation Proofs of Concept included with the response to RFP#220720 by Project Whitecard Inc.


The best experience is with the steering wheel headset combo.


  1. WebGL, on online version prototype via the Web.
  2. Oculus Quest, using controllers, touch the steering wheel.
  3. Oculus Quest - Bluetooth Steering Wheel, without controllers use a steering wheel and pedals.
  4. Pico Setup - “Proto-concept” of eye tracking feedback working on the Pico Neo Eye 2.
  5. Mozilla Hubs XR Demo - (Non-driving, chat only.)
  6. External Documentation

1. HPAT WebGL

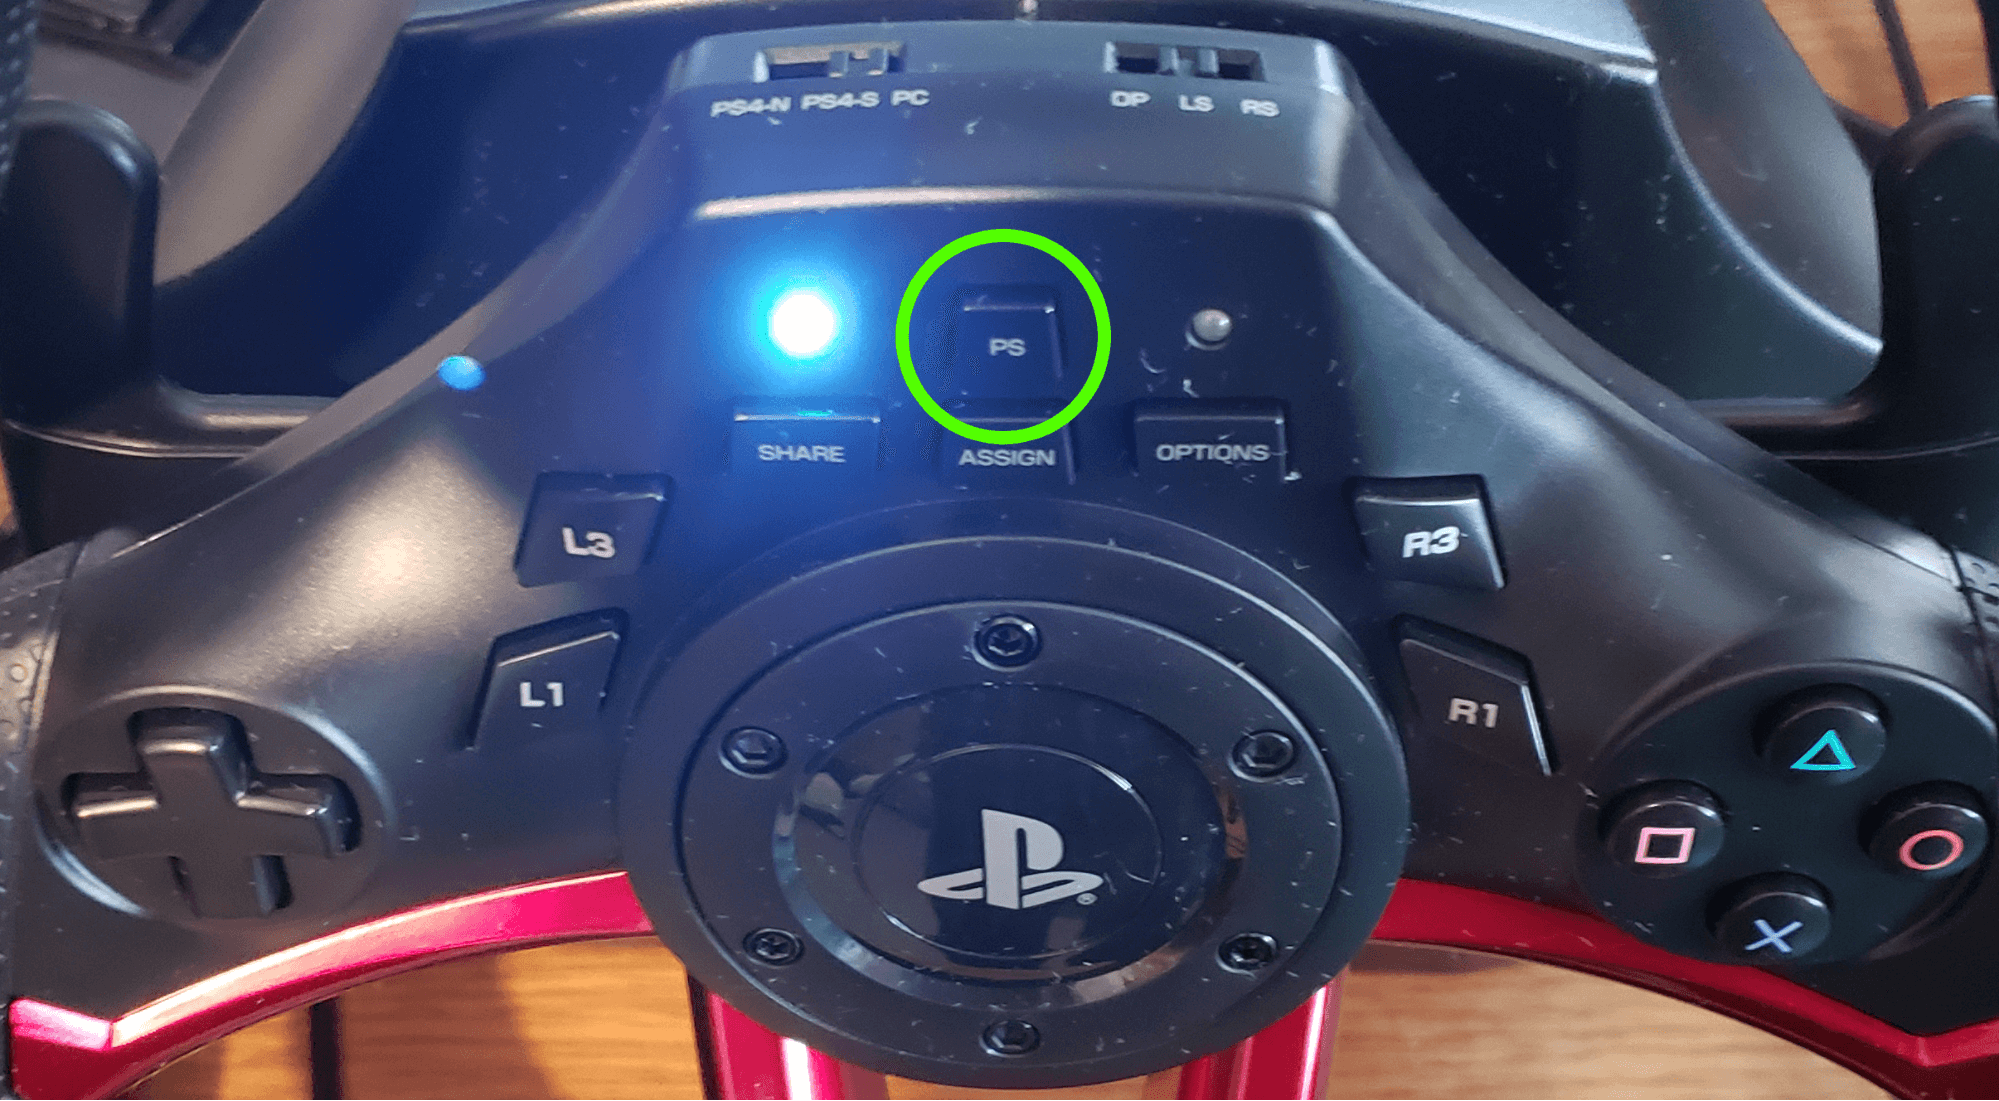
WebGL allows for HPAT to be played on any computer via the internet browser with a keyboard. Drive using WASD, or connect a PC compatible steering wheel to play HPAT.


Keyboard Controls

W - Accelerate

A/D - Turn Left & Right

D - Reverse & Brake

ESC - Exit Fullscreen


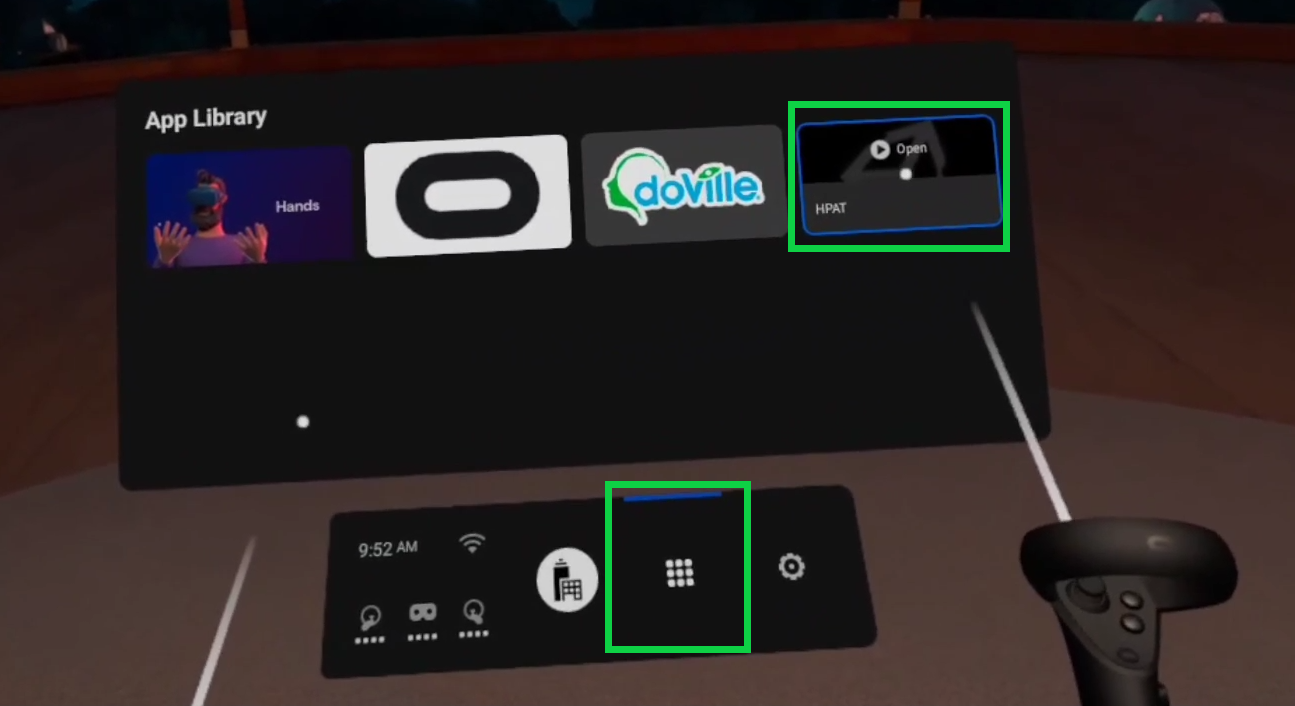
Use Firefox or Chrome for the below Website, and it will launch (it takes about 90 seconds or less to load).

Click here to play HPAT WebGL Proof of Concept

https://hpatwebgl.projectwhitecard.com/

(Link will launch HAPT WebGL. - be prepared to use WASD on your Keyboard)


2. HPAT Oculus Quest - Controllers

  1. Press and hold the power button located on the front right of the Oculus Quest headset for 5 seconds; headset turns on.
  2. Oculus Quest Headset Power
  3. Press and hold the home button (Oculus Logo) on each controller for 2 seconds.
  4. Sit down and place the headset on your head. When prompted select “Change Guardian” and follow the on screen instructions.
  5. (App May Load Automatically, or click the “Grid” in the toolbar to view all installed apps (Shown below), then launch “HPAT” app.
  6. Oculus Quest Main Menu
  7. Use the controllers as hands and ‘hold’ the wheel. Use the right joystick for acceleration (push forward) and brake (pull back):

Oculus Quest Controller

3. HPAT Oculus Quest - Steering Wheel

  1. Mount the steering wheel to a stable desk or table using the clamp or suction cups.
  2. Press and hold the PS button on the Steering Wheel until the light turns on.(The steering wheel contains rechargeable batteries. It does not plug into the quest; but rather can be charged, and operates wirelessly).
  3. Oculus Quest Headset Power
  4. Press and hold the power button located on the front right of the Oculus Quest headset for 5 seconds; headset turns on.
  5. Oculus Quest Headset Power
  6. Sit down in front of the Steering Wheel and place the headset on your head. Use your hands (they are tracked by the HMD; pinch fingers to select) to select “Change Guardian” and follow the on screen instructions.
  7. Oculus Quest Headset Power
  8. Next select “Library” (Shown below) in the toolbar, select “Unknown Sources” then select “HPAT” to launch HPAT on the Oculus Quest.
Snow
Forest
Mountains

4. HPAT Pico Setup

  1. Press and hold the power button located on the top of the headset for 5 seconds.
  2. Press and hold the Pico button (Pico Logo) on each controller for 2 seconds to turn it on.
  3. Sit down and place the headset on your head. Calibrate the headset by selecting "Quick Setup", “sitting”, “adjust floor level”, “Set Manually” and click “Start” to continue.
  4. Next, in the right hand side of the menu (Shown below), select “HPAT” and HPAT with eye tracking will start.
  5. If eye tracking isn’t working or loses tracking, hold the power button for 10 seconds, then repeat steps 1 - 4.

  6. Pico Neo 2 Main Menu

5. Mozilla Hubs XR Demo (non-driving, chat only).


    https://doville-hubs.com/bZqK4Ah/icbc-v3


    Pico Neo 2 Main Menu

6. External Documents Notes

The RFP “printed” portion has been sent, complete, as an external document in PDF

format to

Nishant Kalia

Category Manager, Procurement

Technology Services | Professional Services

M +1 778 886 5001 | Nishant.kalia@telus.com